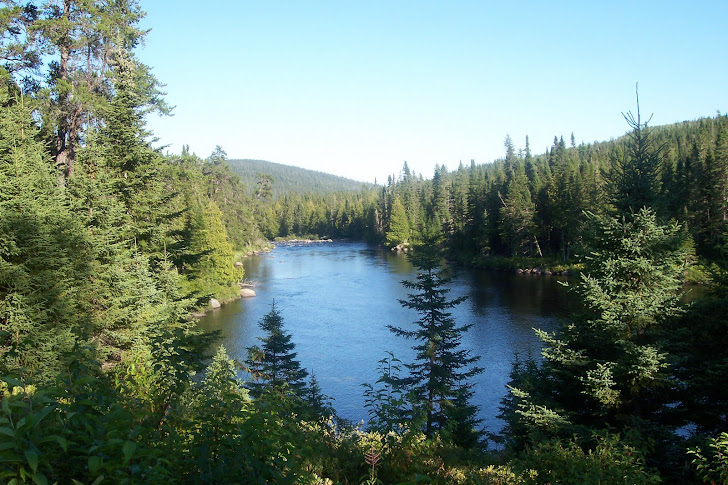
Several weeks ago, Linda Warren (fishing and life partner of the late Bob Warren) invited me to help her have a look at Bob's fly fishing estate, if you will. We had a fine time, I think, opening cigar boxes and tub after tub of goodies. Knowing of my interest in preserving the legacies of fly tyers who made a difference, she generously gave me any flies we thought would/should/could be preserved for future fly tying generations to ponder. What she gave me will end up on the walls of the Atlantic Salmon Museum in Doaktown, NB, Canada just to ensure those future ponderings. Bob had a long relationship with Charlie Krom and Keith Fulsher...far longer than I was privileged to enjoy their company and tying lessons. I did a previous blog post on Fulsher, Krom and Warren. Sadly, all three men have gone to their reward. Go here: https://theriverscourse.blogspot.com/2014/03/fulsher-krom-and-warren.html
I also did a brief update on Charlie Krom's tying activities: https://theriverscourse.blogspot.com/2018/01/the-latest-from-charlie-krom.html
Keith Fulsher created the Thunder Creek minnow series and published a book about them. Don't forget that you can click on the pics for a larger version of it!
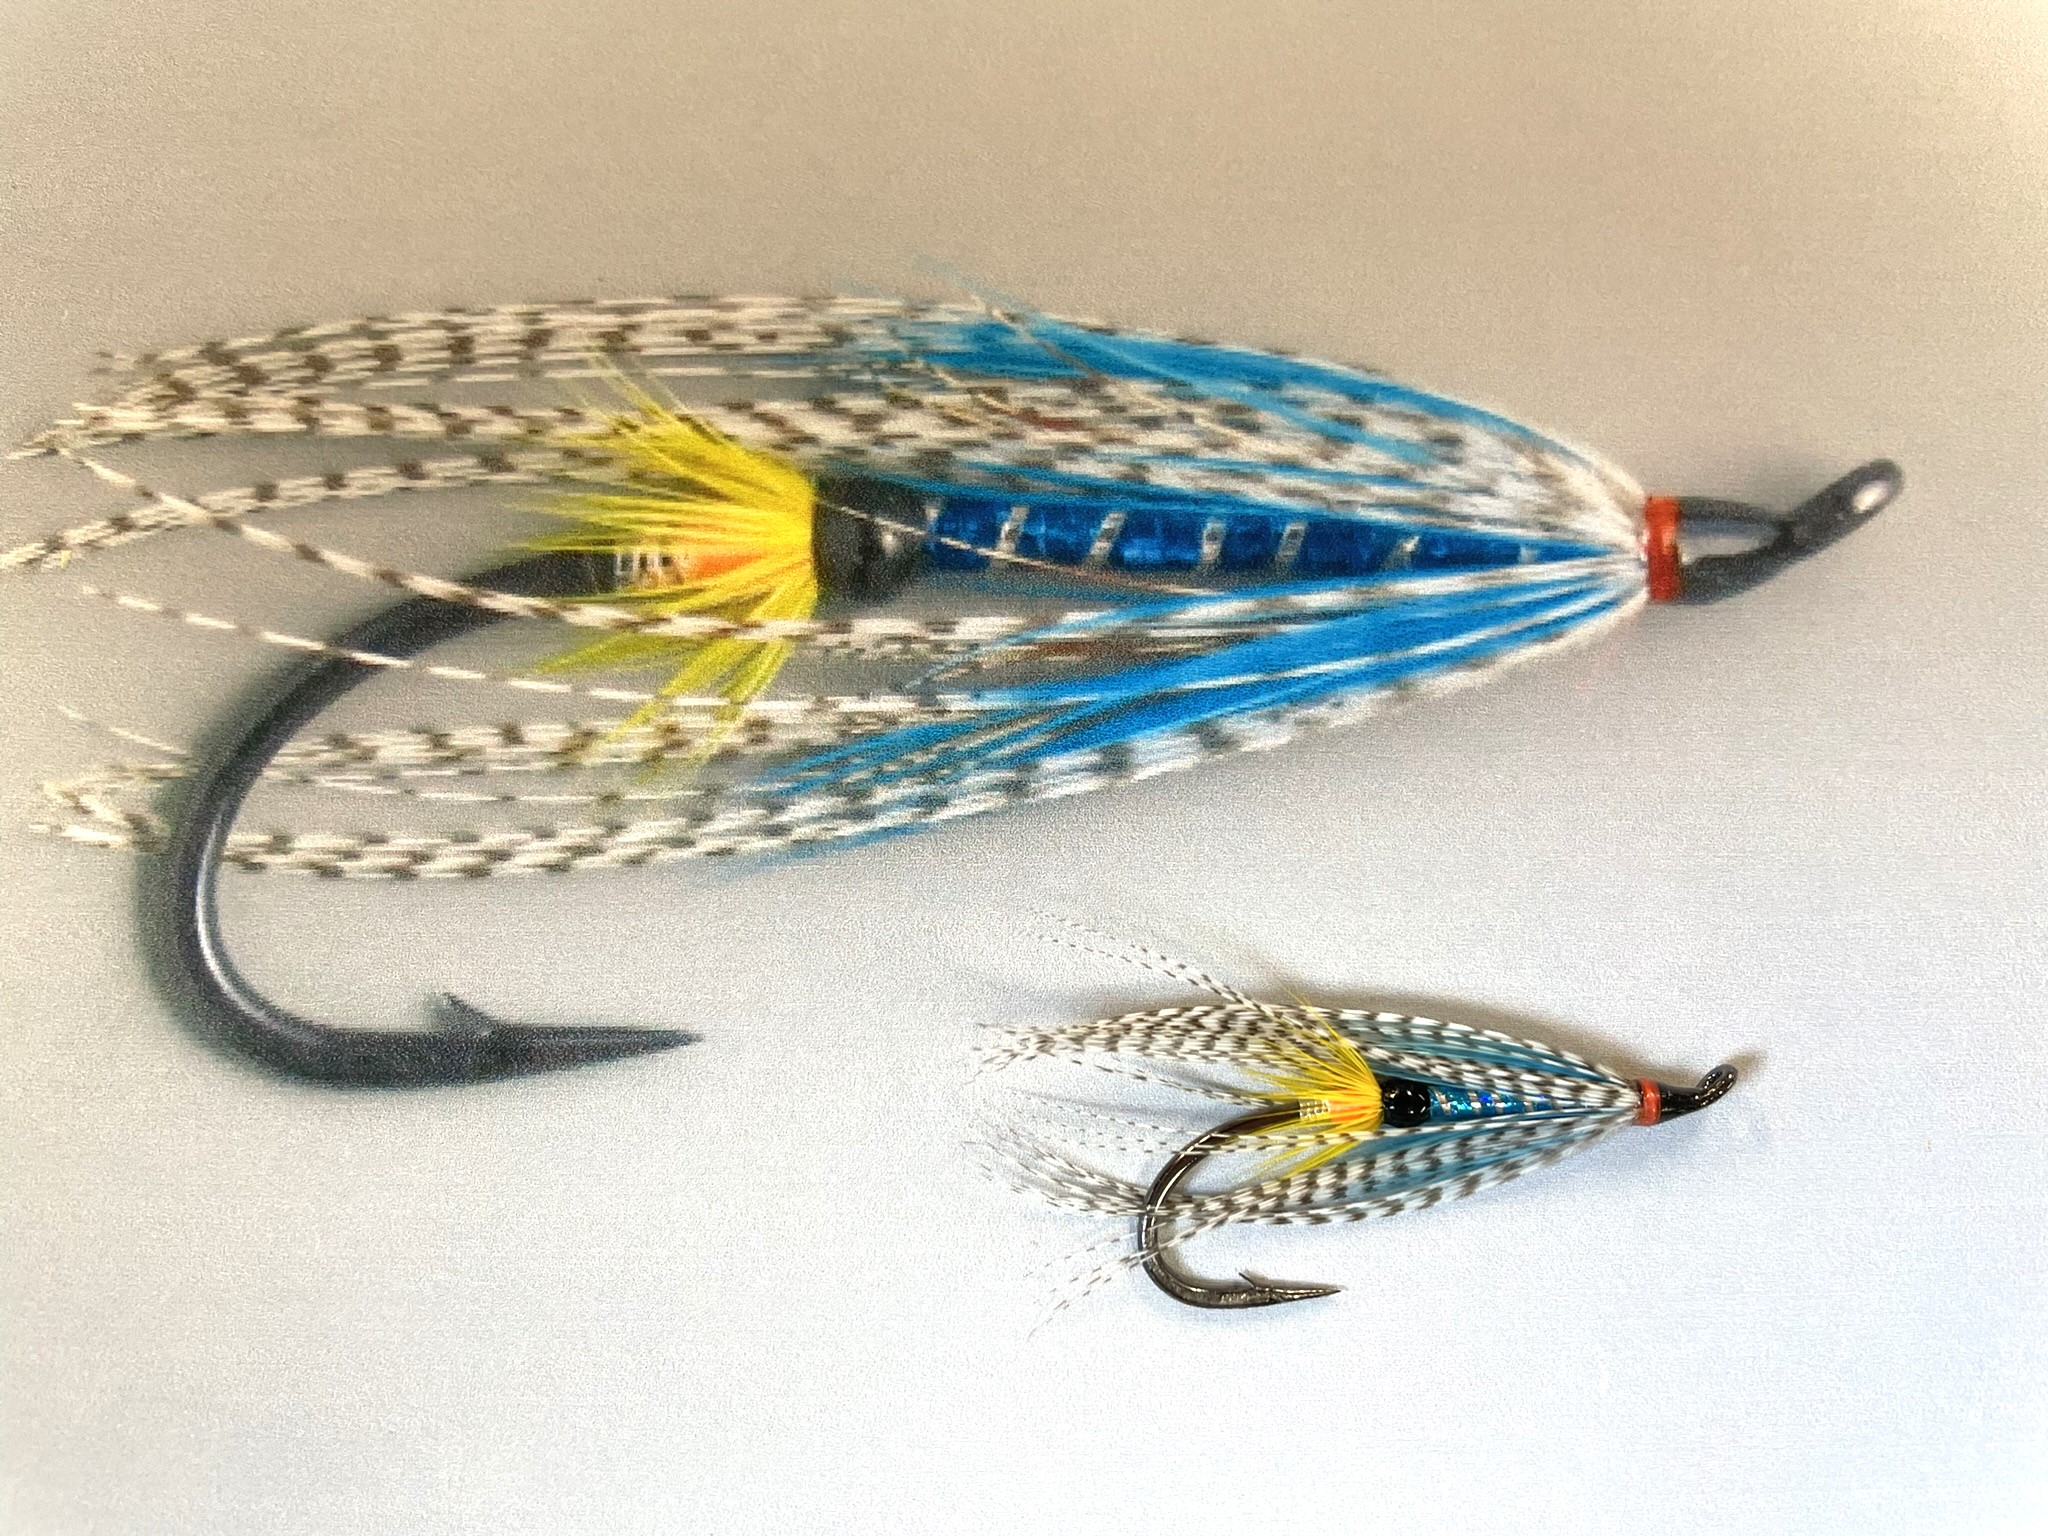
Now we have a couple beautiful examples of those flies to care for:
In the book:
Known to every hair wing Atlantic salmon fly tyer worth her or his salt (I know there are other pronouns around these days, I just don't know what they are) , Fulsher and Krom's Hair-wing Atlantic Salmon Flies is, by most standards, the, uh, standard for modern hair-wing recipes. It also contains a short history of what the guys considered the development of the hair-wing salmon fly.
I treasure my first copy (I have three; this one for the library shelf, and one at each tying bench in Vermont and New Brunswick). Note: they used to be expensive, now they are not. Pretty easy to pick up an unsigned copy for twenty bucks or less).
I think it quite fun to be able to match a fly tied by an author with the recipe in their book. (In this series of photos, there are penciled initials I wrote in next to the fly so you could see who tied it. CK is Charlie Krom, KF is Keith Fulsher, of course). To wit:
Ooops, forgot the initials on that one; Charlie tied them both LRW's.
Some years back Charlie sent me this set of flies on a card with what he thought worked well throughout the day on a summer day:
Back in 2008, some years before he passed on (at age 95, in 2017), Keith published this book (and one that I really treasure):
Some of the flies in the book:
And one that's close to a book fly:
Late in his life, Charlie (who passed away in 2021 at the age of 91 and was still tying in 2020!) self-published a wonderful "book" (don't quite know what to call it; it is in a binder of sorts) that he titled Three Hackle Holographic Spey Flies. And yes, I know, the classicists will say no way those are spey flies. I agree with that, but I'd say when you're in your late 80's and with Charlie's street (OK, river) creds and tying abilities, I say he can call them anything he wants. His hooks, his rules. And I just hope I can still think, much less design a whole new style of fly and tie at Charlie's level (yeah, right,wishful thinking particularly right there, Gar.) if I even make it to my mid-80's.
Flies in the book:
And a smattering of Charlie's other inspiring flies built in his 80's:
I was really taken aback when Charlie sent me his "speyified" verson of my Celtic Beauty!
And a fitting fly to end this blog post:
And a huge thank you to Linda Warren for keeping all these goodies together and now making them available for the world to enjoy and learn from.
Cheers,